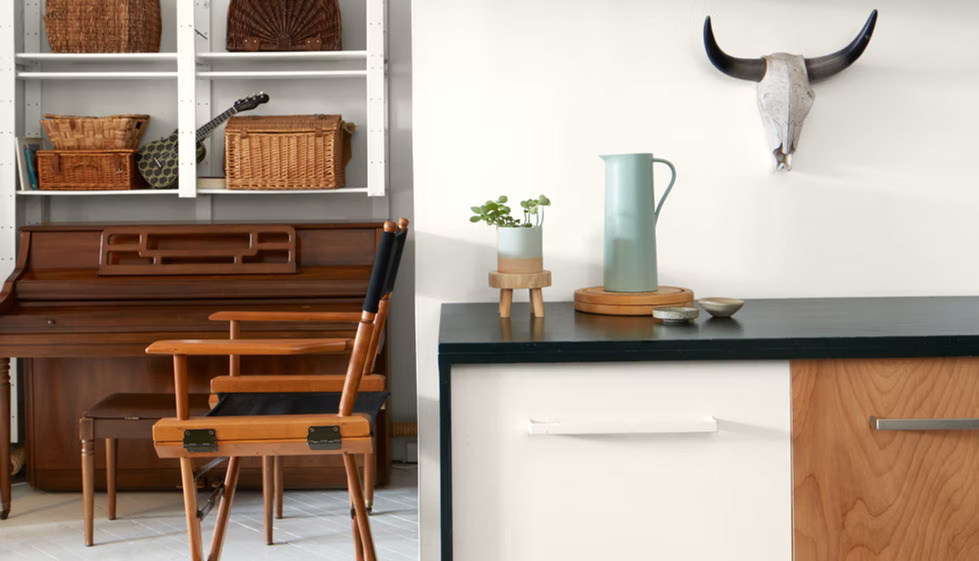
Cabinet Repaint
If you’re looking for a stylish and cost-effective way to refresh your cabinetry and significantly elevate the ambiance of your living space, consider cabinet painting. This elegant solution not only enhances the appearance of your cabinets but also extends their longevity. By choosing Benjamin Moore’s premium-quality paints, you can infuse your space with refined beauty. With a breathtaking palette of over 3,500 colors at your disposal, cabinet painting offers unparalleled customization, allowing you to harmonize with the latest design trends. Furthermore, Benjamin Moore’s products augment the durability of your cabinets, protecting them from everyday wear and tear while breathing new life into their look.
For the ideal foundation, Insl-X Stix Primer is highly recommended for cabinet repaints. Stix Primer provides exceptional adhesion to a variety of surfaces, including challenging substrates. Its use enhances the longevity of the topcoat, mitigating the risks of peeling and chipping.
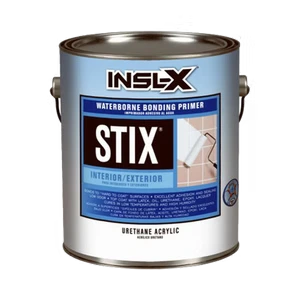
For the ideal foundation, Insl-X Stix Primer is highly recommended for cabinet repaints. Stix Primer provides exceptional adhesion to a variety of surfaces, including challenging substrates. Its use enhances the longevity of the topcoat, mitigating the risks of peeling and chipping.
Repaint your Cabinets in 8 Easy Steps
01. Flat Surfaces and Space to Dry
Remove all drawers and doors, and don’t forget to remove any hardware. Find an area with ample room to work and to let everything dry for extended periods.
02. Prep
Ensure the cabinets and doors are clean and dry. Use a gentle grease remover and a damp sponge to wipe them clean, then let everything dry thoroughly. Most cabinet finishes are too smooth or glossy to reprime and repaint using 100- to 150-grit sandpaper. Sand down your surfaces lightly—enough to give the primer some grip, but not so much as to remove the existing finish entirely. Wipe away any dust with a slightly damp cloth and let dry.
03. Protect Your Surroundings
Remove all drawers and doors, and don’t forget to remove any hardware. Find an area with ample room to work and to let everything dry for extended periods.
04. Prime
Use Stix Primer for extra adhesion. Stix is a fast-drying primer, allowing you to begin painting an hour after its application.
05. Paint
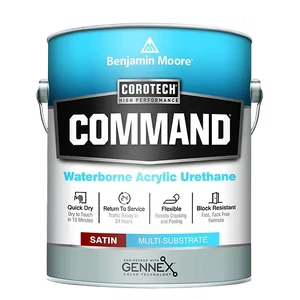
Using a premium nylon/polyester brush, apply the first coat of Command paint. Time-saving tip: Painting cabinet doors (and similar large areas) may go faster with a foam or microfiber paint roller instead of a brush. As with primer, let your first coat of paint dry completely before applying the second coat.
06. Repeat Step 5
Sand lightly with 220-grit sandpaper between coats
07. Repeat Step 6
A second coat of Command paint provides complete coverage and allows the finish to cure evenly.
08. Let It Dry!
The longer the paint dries, the more durable the finish will be and the less likely it will stick during reinstallation. At a minimum, let the cabinets dry in a well-ventilated area for at least 24 hours—however, two or three days is even better.
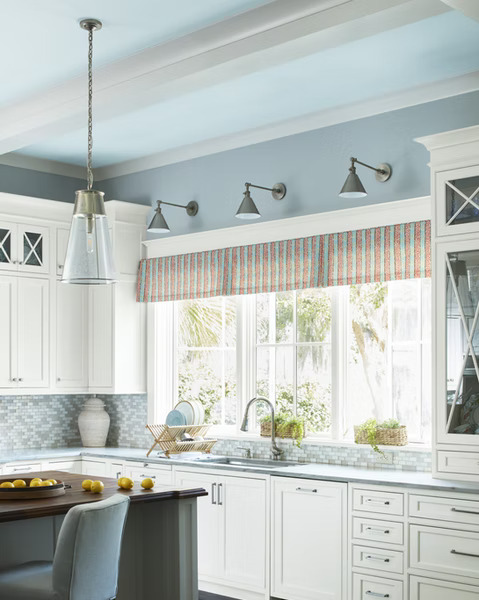
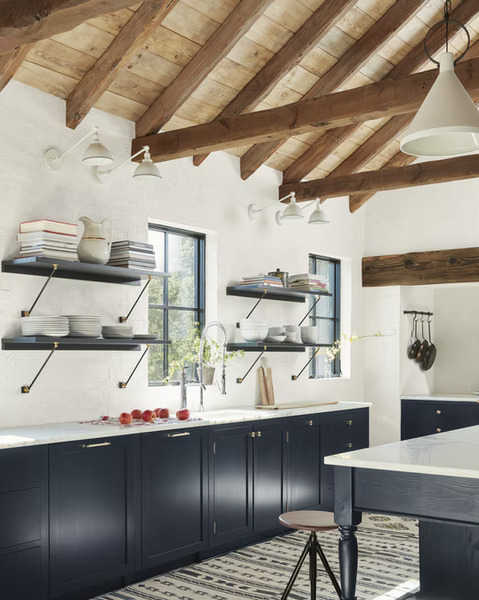
Once everything is fully dry, you can begin replacing the hardware and reattaching the doors and drawers to your newly refreshed kitchen.
